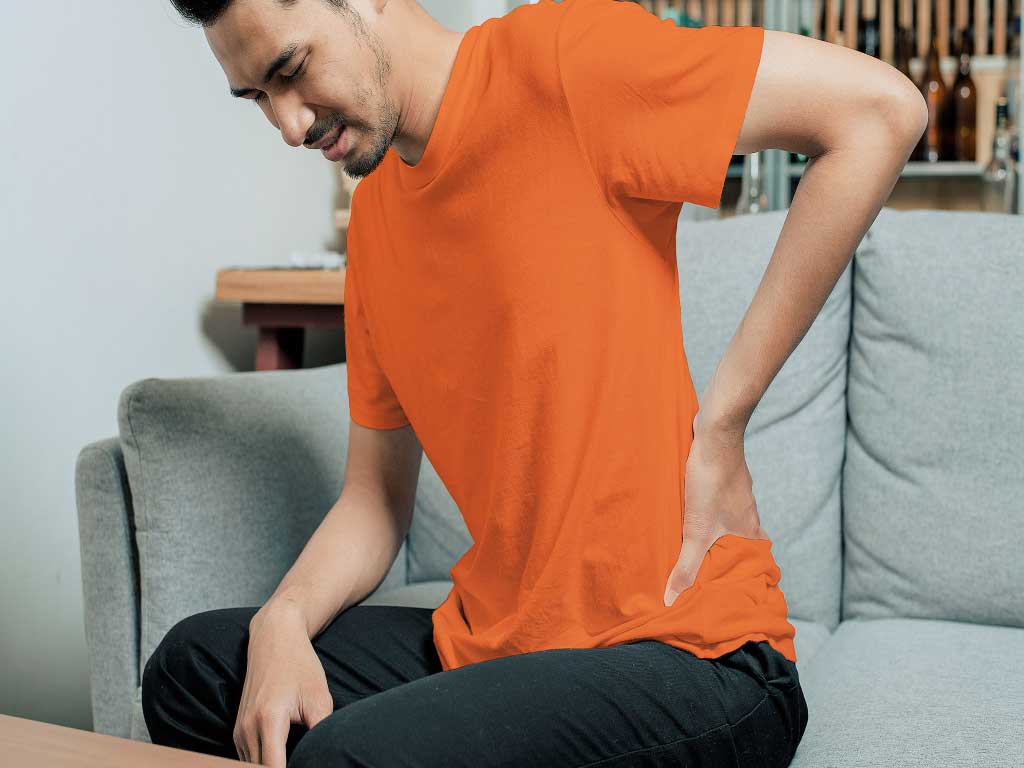
Lower back pain is a common discomfort for many people. It often results from working long hours at a desk or physical strain from activities like lifting heavy objects or exercising. One of the easiest ways to relieve pain is by stretching the lower back. There are different kinds of stretches or exercises that anyone can do in the comfort of their homes. The top kinds are Child’s Pose, Cat-Cow, Supine Twist, Knee-to-Chest Stretch, and more.
Stretching the muscles in your lower back can help alleviate this pain and prevent it from recurring in the future. It also strengthens the muscle fibre, protecting the lumbar spine and minimising the risk of injuries. However, it is vital to know how to properly do the stretches for effective relief and to prevent further harm. In this article, we will explore the top 10 stretches to help with lower back pain.
Jump to a Section:
- Stretching the Lower Back – Child’s Pose
- Stretching the Lower Back – Cat-Cow Stretch
- Stretching the Lower Back – Supine Twist
- Stretching the Lower Back – Knee-to-Chest Stretch
- Stretching the Lower Back – Pelvic Tilt
- Stretching the Lower Back – Piriformis Stretch
- Stretching the Lower Back – Sphinx Stretch
- Stretching the Lower Back – Seated Spinal Twist
- Stretching the Lower Back – Seated Hamstring Stretch
- Stretching the Lower Back – Supported Bridge
Stretching the Lower Back – Child’s Pose
Child’s Pose is a classic yoga posture that can help relieve tension and tightness in the lower back and hips. It can also help to alleviate pain and discomfort caused by sitting for long periods or engaging in physical activities. By gently stretching the lower back muscles, the Child’s Pose can also increase circulation and promote relaxation.
Incorporating the Child’s Pose stretch into daily routine can be a great way to maintain a healthy and pain-free lower back. By holding the stretch for a few breaths, it can increase flexibility in the spine and improve posture. This activity takes a few minutes to practice, but it can help improve overall well-being.
This exercise is simple and can be done anywhere, making it an accessible option for individuals with lower back pain. However, remember not to force a stretch and only extend to a comfortable level. Additionally, people with injuries should consult a doctor or physical therapist before doing this exercise or starting a yoga program.
How to Do the Child’s Pose
- Start in a tabletop position by kneeling on the floor with the toes touching and knees slightly apart.
- Sit back on the heels, and then slowly lower your forehead to the ground, reaching the arms out in front.
- Exhale and fold forward, laying your torso down between your thighs.
- The tailbone should be tucked towards the navel to lengthen the spine.
- Rest your forehead on the mat or floor.
- Hold this pose for 30 seconds to one minute, focusing on deep breathing and relaxing the body.
- To release the stretch, slowly come back up to a seated position. Repeat a few times.

Stretching the Lower Back – Cat-Cow Stretch
The Cat-Cow stretch is another yoga pose that targets the lower back by alternately arching and rounding the spine. This stretch engages the abdominal muscles, providing support for the lumbar region and improving posture. By moving between these two positions, individuals can gently massage and stretch the lower back muscles, promoting relaxation and reducing pain.
Incorporating the Cat-Cow stretch into daily routine offers many benefits. It can improve flexibility and mobility in the spine, reducing stiffness and discomfort in the lower back. By moving the spine through its full range of motion, this stretch helps to alleviate tightness and tension in the muscles surrounding the lumbar spine. Moreover, gentle massages can stimulate the internal organs, promoting digestion and enhanced well-being.
Regular practice of lower back stretching with the Cat-Cow pose can also help to prevent and alleviate pain, making it a valuable addition to any yoga routine. Additionally, focusing on the connection between breath and movement can reduce stress. Remember to move slowly and mindfully, focusing on the breath and sensations in the body.
How to Do the Cat-Cow Stretch
To do the stretch, start on your hands and knees, with the wrists directly under the shoulders and knees under the hips. Inhale as you arch your back, dropping the belly towards the floor and lifting the head and tailbone towards the ceiling. This is the “cow” position.
Then, exhale as you round your back, tucking your chest and tilting the pelvis under, creating a convex shape in the spine. This is the “cat” position. Repeat this movement, flowing smoothly between the Cow and Cat positions, for several breaths. Always move with your breath, inhaling and exhaling in the process.

Stretching the Lower Back – Supine Twist
The Supine Twist is a gentle lower back stretching that helps to release tension in the spine. It is a rotation or twisting of the spine while lying on the back. The rotation happens mainly at the waist, which can also affect the lower and upper body. This twist can improve flexibility in the lumbar region and promote relaxation.
One of the main benefits of the supine twist is that it increases the mobility of the spine, reducing stiffness and promoting a better range of motion. This can be helpful for those who sit at a desk for long periods or have a sedentary lifestyle. This stretch counteracts the effects of slouching and poor posture. Furthermore, the twisting motion improves digestion and detoxification.
Aside from the lower back muscles, the supine twist stimulates the kidneys, abdominal organs, bladders, and intestines. As a result, it releases stress and tension both physically and mentally. At the same time, straightening the knee strengthens the legs and relieves tight hamstrings.
How to Do the Supine Twist
Start by lying flat on your back with the arms extended straight out to the sides in a “T” position. Then, bend the right knee and bring it towards the chest. Slowly lower the right knee across the body towards the left side, keeping the right arm extended out to the side.
Try to keep the shoulder blades flat on the ground as you twist. Next, hold the twist for a few deep breaths, feeling the stretch in the spine and lower back area. To release, slowly return to the centre and repeat on the other side.

Stretching the Lower Back – Knee-to-Chest Stretch
The Knee-to-Chest exercise is a simple and effective way to alleviate pain. This can help alleviate tension in the back, hips, and thighs. This stretch is beneficial for those who experience chronic back pain, stiffness, or a limited range of motion. It also gently expands the spine and improves posture, making it easier to move and perform daily activities.
In addition to stretching the lower back, hips, and thighs, this stretch can increase blood flow and oxygen to the muscles in these areas. Therefore, improved circulation can help reduce muscle soreness and fatigue. The knee-to-chest stretch is also a good warm-up exercise before engaging in more strenuous physical activity.
Doing this stretching exercise on a daily basis can prevent muscle imbalances and reduce the risk of injury. Moreover, this can stimulate the erector spinae, gluteus minimus, gluteus maximus, abdominal muscles, and upper body muscles. However, individuals should avoid this stretch if it worsens the back or leg pain. To summarise, the knee-to-chest exercise reduces pain, improves hip stability, and increases spinal mobility.
How to Do the Knee-to-Chest Stretch
- Lie on your back with your legs extended. Another starting position is bending the knees with the feet flat on the floor.
- Clasp your hands around one knee and bring that knee up towards your chest. (Keep the other leg straight or bent).
- Keep the lower back pressed to the floor, breathe deeply, and hold the position for at least 15 to 30 seconds. This should feel a gentle stretch in the lower back and hips.
- Relax and lower the knee to the starting position. Switch and repeat with the other leg.
- Repeat two to four times with each leg.

Stretching the Lower Back – Pelvic Tilt
The Pelvic Tilt exercise is another effective way to strengthen the lumbar muscles. This also targets the muscles in the pelvis and hips. Furthermore, this allows for improvement of posture and stability in the lower back region. This stretch is beneficial for individuals who sit for long periods or want to improve spinal alignment. It is also one of the Osteo-recommended lower back pain stretches to relieve pain.
Many people integrate the pelvic tilt stretch into their exercise program as part of their chronic pain management plan. Aside from strengthening the core muscles, it can alleviate some of the strain and tension that contributes to chronic back pain. Also, regularly stretching the lower back can reduce the pressure on the spine. Hence, it can lead to decreased pain and discomfort over time and improved muscle function.
Additionally, the pelvic tilt exercise can improve their body awareness and mindfulness. By focusing on the movement of the pelvis, individuals can learn to better control and support their lower back and core muscles. Overall, this can help improve spinal alignment and reduce the risk of developing chronic back pain.
How to Do the Pelvic Tilt
To do a pelvic tilt, start by lying on your back with your knees bent and feet flat on the floor. Place your arms on the sides with your palms facing down. Then, take a deep breath in and as you exhale, press your lower back into the floor by engaging the core muscles.
Subsequently, hold this position for a few seconds before releasing and repeating the movement. It is important to focus on the abdominal muscles to perform the stretch rather than relying on the legs or glutes. Individuals can increase the difficulty by holding the position for longer periods.

Stretching the Lower Back – Piriformis Stretch
The piriformis stretch is a stretching exercise that specifically targets the piriformis muscle, which is located in the buttocks. It is a hard-to-reach muscle that runs from the sacrum to the thigh bone. This exercise is beneficial for individuals who experience tightness or pain in the backside due to a lack of stretching. It can also help improve flexibility and increase the range of motion in the hip joints. It is also one of the stretches that help with sciatica.
Tightness in the buttock muscles can sometimes lead to conditions such as piriformis syndrome or sciatica. By stretching the lower back and the piriformis muscles, it can help alleviate some of the symptoms associated with these conditions. Incorporating this exercise into a stretching routine can benefit those who participate in activities that involve repetitive movements.
It is vital to perform the piriformis stretch with proper form and technique to avoid injury. In addition, combining this exercise with other hip-opening and hamstring stretches can help further improve hip and thigh flexibility. Lastly, it can also reduce the risk of developing muscle imbalances or injuries in the hip area.
How to Do the Piriformis Stretch
Start by lying flat on your back with your knees bent and feet flat on the floor. Then, cross one ankle over the opposite knee, forming a figure “four” shape with your legs. Subsequently, reach through the space between the legs and grab the back of the thigh or shin, pulling it towards the chest.
Hold this stretch for 15 to 30 seconds, and repeat on the opposite side. Perform it two to three times on each side, gradually increasing the duration. Another way to do the piriformis stretch is to start in a seated position.

Stretching the Lower Back – Sphinx Stretch
The Sphinx stretch is a gentle yoga pose that primarily targets the lower back and releases strain in the area. It involves a gentle backbend that can open up the chest, shoulders, and abdominal wall, promoting better posture and spinal alignment. By opening up the chest and shoulders, this stretch can alleviate tension in the upper body.
Additionally, the sphinx stretch can help counteract the effects of slouching and hunching over. Regularly stretching the lower back can also enhance overall spinal health. Likewise, it aids in strengthening and toning the core muscles, providing stability and support for the spine. Consequently, better stability reinforces the lumbar spine, reducing the risk of injury.
The sphinx pose is a good exercise for beginners. This pose supports the forearms and elbows, allowing individuals to move their spine and back muscles. It also stretches the abdominals and mobilises the spine into extension. Overall, the Sphinx stretch is a simple yet effective way to increase flexibility, relieve pain, and improve spinal health.
How to Do the Sphinx Stretch
- Lie face down on the floor with the legs extended, hip-width apart.
- Place the elbows directly under the shoulders. Bring your arms up and rest your elbows under the shoulders with the forearms on the floor, parallel to each other.
- Spread your fingertips wide. Then, press into the palms and slowly lift the chest off the ground while keeping the hips and legs in contact with the floor.
- Hold the stretch for 15 to 30 seconds, breathing deeply and focusing on elongating the spine.
- Slowly release back down to the ground and repeat the stretch two to three more times.

Stretching the Lower Back – Seated Spinal Twist
The seated spinal twist is a yoga pose for stretching the lower back, hips, and spine. By twisting the spine, this pose helps release tension in the back muscles, reducing back pain and improving mobility. Moreover, it can loosen the arms, stretch the torso and support digestion. This has positive effects on the gastrointestinal tract, relieving bloating and enhancing natural detox processes.
Another benefit of the seated spinal twist is improving posture. By twisting the spine in this pose, it encourages proper spinal alignment, which can relieve muscle strains. They also stretch and strengthen the muscles and connective tissues around the spine, increasing the range of motion in the back.
Furthermore, this stretch stimulates circulation, reducing inflammation and promoting healing. It also offers stress relief by calming the mind. The twisting motion involves deep breathing, helping to lower stress levels. This activates the parasympathetic nervous system and reduces anxiety. Therefore, regular practice of the seated spinal twists can improve mood and emotional balance.
How to Do the Seated Spinal Twist
The seated spinal twists start simply by sitting on the floor with your legs straight out in front. The next step is to bend the right knee and cross it over the left leg, placing the right foot flat on the floor next to the left knee.
Afterwards, place the left elbow on the outside of the right knee and twist the torso to the right. Keep the spine long and engage the core muscles while twisting. Then, hold it for a few breaths and slowly release and switch sides. It is vital to keep the spine long and shoulders relaxed throughout the exercise.

Stretching the Lower Back – Seated Hamstring Stretch
Stretching the lower back can also be achieved through a hamstring stretch. This exercise targets the hamstrings or the muscles located at the back of the thigh. Tight hamstrings can pull on the pelvis, contributing to lower back pain. Chronic muscle contractions can weaken the muscles. Thus, stretching them can ease the discomfort and improve flexibility.
There are many variations for the hamstring exercise, including standing, seating, and lying stretches. In particular, the seated hamstring stretch is ideal for those who may feel off-balance during standing stretches. Individuals can do this by sitting on the floor or with a chair. However, it is important to note that it takes time to loosen stiff muscles.
Moreover, performing the exercise with proper form is essential to avoid injury. Make sure to keep the back straight and engage the back muscles to protect the spine. Also, avoid bouncing while stretching, as this can cause the muscles to tighten rather than relax. Doing one or more hamstring stretches at least twice a day over the long term can get the best results.
How to Do the Seated Hamstring Stretch
Start the exercise by sitting on the floor with your legs extended in front of you. Sit up tall with a straight back and engage your core muscles. Then, bend one knee and place the sole of your foot against the inner thigh of the opposite leg.
Keeping your back straight, lean forward from your hips and reach toward your toes. Hold this stretch for 15 to 30 seconds, feeling the stretch in the back of the extended leg. Repeat this process on the other side. Remember to breathe deeply, relax into the stretch and avoid any bouncing movements.

Stretching the Lower Back – Supported Bridge
The supported bridge exercise is a popular restorative pose that helps strengthen the core, glutes, and hamstring. While stretching the lower back, it also lengthens the chest, neck and spine. Additionally, this pose can be beneficial for those who may have difficulty with traditional bridge poses due to tightness or discomfort in the lower back.
The restorative nature of the stretch comes from the head and neck being lower than the heart. This promotes the parasympathetic nervous system and suppresses the “fight-or-flight” response of the body. As a result, it helps reduce stress and anxiety by calming the mind and body.
Furthermore, this exercise is ideal for improving posture, as it opens up the chest and shoulders while reinforcing the muscles that support the spine. It can also help relieve lower back and hip pain. This exercise requires a yoga block or cushion under the sacrum for support. It can stand at different heights, so individuals can choose the level that they are most comfortable with. If this is not available, any solid object can be used.
How to Do the Supported Bridge
- Start by lying on your back with your knees bent and the soles flat on the floor.
- Extend your arms on the floor with the fingers reaching toward the heels.
- Keep the feet parallel, and maintain that position throughout the stretch.
- Lift your hips off the ground by pressing through your heels and engaging the core and glute muscles.
- Slide a yoga block or cushion underneath your sacrum for support and let it rest securely on the bolster.
- Hold this position for a few seconds, then slowly lower your hips back down.
- If the pose causes backache, remove the block and come back down.
Conclusion
Stretching the lower back is an important part of maintaining flexibility, relieving pain, and preventing injuries. People can incorporate various stretches into their daily exercise routines. Through regular stretching, individuals can improve their overall mobility and decrease the risk of developing or worsening chronic back problems. Some common yoga poses include the child’s pose, pelvic tilt, and piriformis stretches. In addition, performing these exercises is simple and straightforward. They can be done at home and with minimal aid.
It is recommended to consult a physical therapist or healthcare provider before starting any exercise program. This is to ensure that the stretches are appropriate for your specific condition and to prevent causing further harm or injury. Remember to be aware of the limits and only stretch to a comfortable level. Consistency is key when it comes to seeing results, so make stretching a regular habit. Finally, it can be used in conjunction with other therapies, such as electrotherapy using a TENS unit.


